
The editor doesn’t load properly because of a plugin called Easy Page Slideshow
When you’re trying to edit a page on your site, occasionally, you might not be able to actually edit it. Instead, the editor window will be blank, your toolbar will be missing, and, if you scroll down the page a little bit, you’ll probably notice that much of the rest of the editor page is missing, too.
More than likely, one of the most recent things someone did while editing this page, was to upload a PDF or Word document to attach to the page.
The problem is, the original plugin we used to create slideshows within the site, Easy Page Slideshow, attempts to process those PDF documents as images; when it can’t figure out how to create a thumbnail of the PDF, it stops loading the editor page altogether.
The quickest way to solve the issue is to delete attachments one-by-one until the editor starts working again. To do so, you can click “Delete Image” in the “Slideshow” box below the editor. When you do so, the attachment will be deleted from the server and the editor page will reload. If the editor still doesn’t work properly after deleting the first attachment, delete each additional attachment until it does start working. Once the editor starts working, you should remove any old attachments that are no longer being used in the page (for instance, old versions of a form, duplicate copies of an image or form, etc.). Then, upload any missing attachments that are still necessary.
Once you’ve gotten things working properly again, the long-term fix is to remove the Easy Page Slideshow plugin. However, if you’re actually using that plugin to display slideshows on your site, you’ll need to remove those slideshows and replace them with a different kind of slideshow before we can deactivate the plugin. Otherwise, our theme was built in such a way that the pages that display the slideshows themselves (in many cases, your home pages) will stop working once we deactivate the plugin.
There are a handful of options to replace your slideshow.
JetPack Slideshow
The plugin that we mainly use to show how many people are visiting and interacting with your site, JetPack, also has a slideshow feature built in. This is the simplest to implement, but it’s also the least flexible. To turn on the JetPack slideshow feature, you should be able to click the JetPack menu item in your admin menu, then make sure that the “Shortcode Embeds” is active; this module also provides quite a few other new ways to embed different types of media in your pages and posts. With JetPack, as long as it says it is “Connected to WordPress.com” at the top, if you don’t see a blue “Activate” button within a module, that means it is already activated (the inactive modules will also be more faded than the active modules).
To use the JetPack slideshow, simply click the “Add Media” button above the editor and then click “Create Gallery”. Then, upload the photos you would like to use in the slideshow, click the blue “Create a New Gallery” button in the bottom right, choose “Slideshow” from the “Type” selector (you should also choose “Media File” in the “Link to” selector) and insert the gallery.
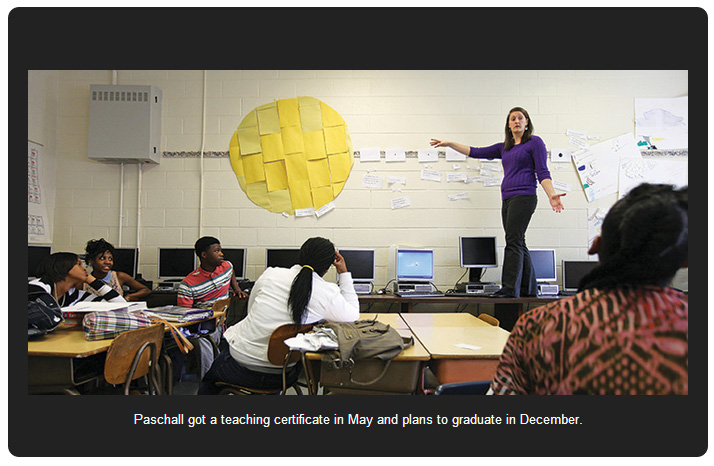
The JetPack slideshow only has one option (and that option applies throughout your entire site): should it have a white background or a black background. The advantages of this slideshow are that you can insert it into any page on your site, and that it’s extremely easy to choose your images and insert the slideshow; it is an extended feature of the built-in Gallery feature in WordPress. You can see an example of the JetPack slideshow in action in the Summer 2013 edition of the online magazine.
Featured Posts

The next option you have for a slideshow is the “Featured Posts” plugin. This plugin can only be used once on your site. To use this plugin, look for the “DisplayBuddy” menu near the bottom of your administration menu. It displays the title, excerpt and featured image from content items within your site, so you will need to make sure you have a set of content items to use within the slideshow (news posts, etc.). When you hover over the DisplayBuddy menu, click on “Featured Posts” to configure the options for the plugin.
There are quite a few slightly different layouts for the slideshow from which you can choose. I would recommend testing each one thoroughly before making a final decision. There are two layouts that have been customized specifically to work within our theme: the Umw-magazine2-layout and Umw-news-layout.
Once you choose a layout, you can specify the dimensions of the slideshow itself. There are four options for the dimensions: “Entity Width” and “Entity Height”, which determine how large the actual slideshow will be; and “Image Width” and “Image Height”, which determine what size the images will be within the slideshow. If you are using a layout that places the caption to the left or right of the image, you should make sure that the Entity Height and Image Height are the same, and that the Entity Width is larger than the Image Width; if you are using a layout that places the caption above and/or below the image, you should make sure the Entity Width and Image Width are the same, and that the Entity Height is taller than the Image Height.
After you set up the slideshow dimensions, you will determine what actually goes in the slideshow and how it behaves.
Once the slideshow is set up, you can either insert the [[featuredposts]] shortcode within a page or post, or you can use the FeaturedPosts widget into an appropriate widget area. You can see an example of the FeaturedPosts slideshow in action on the front page of the UMW News site.
SlideDeck2
SlideDeck2 is the most flexible of all of the slideshow plugins used on the UMW website, but is also the most difficult to set up. We are still working on putting together some custom layouts that work well within the UMW theme, but, as with the FeaturedPosts plugin, there are quite a few to choose from already; you’ll just need to test them thoroughly to see if they do what you want.
To set up SlideDeck, you’ll need to make sure the plugin is active on your site. If it’s not, please let us know (or, if you have the ability to activate plugins on your site, go ahead and activate “SlideDeck2 Personal”, then activate “SlideDeck2 – Developer Addon Package” and “SlideDeck2 – Professional Addon Package”.
Once SlideDeck2 and its add-ons are active, you should see a “SlideDeck 2” menu in your administration menu. From there, you can set up a new slideshow using a number of different sources. SlideDeck supports creating slideshows from RSS feeds, YouTube and Vimeo videos, Facebook Pages, local WordPress posts, specific images and more.
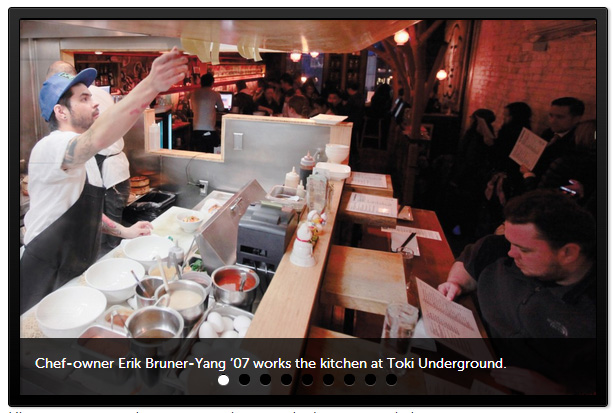
Once you have your slideshow set up, you can insert it into a page or post by using the appropriate shortcode provided to you when you saved the slideshow, or you can drag the SlideDeck2 widget into an appropriate widget area. You can see an example of SlideDeck2 in action within the Spring 2013 edition of the online magazine.
Step-by-step instructions are available to help you with SlideDeck.

Speak Your Mind